Originally Published as: Handle With Care: Proper truss handling creates safe, efficient jobsite
November 2006 FLASHBACK
Editor’s Note: You can gain practical value from revisiting this 2006 article written by then-editor Scott Tappa because the core challenges it addresses haven’t changed. Despite advances in equipment and safety awareness, improper truss handling and bracing remain causes of jobsite failures. The insights from industry experts like Dan Pogreba and Ed Callahan reinforce a critical truth: success depends less on knowledge availability and more on consistent execution in the field.
This article serves as both a technical refresher and a management guide, helping bridge the gap between knowing proper procedures and ensuring crews follow them. It highlights common shortcuts, explains why they’re dangerous, and outlines proven best practices from delivery through installation.

For today’s builders facing labor shortages and varying skill levels, the piece is especially relevant. It underscores the importance of training, communication, and accountability—timeless factors that directly impact safety, efficiency, and long-term building performance.
There really is no excuse for handling and installing trusses improperly on post-frame buildings. Organizations like WTCA and the Truss Plate Institute, not to mention local truss suppliers, supply an endless amount of literature and other reference materials to help builders do the job right. You would think every truss installation would be safe, sound, and stable. And yet … “I know there are builders who still do it wrong and have a tendency to take short cuts,” says Dan Pogreba, general manager of Select Trusses and Lumber in West Salem, Wis. “We see a wide variety of contractors with different levels of experience. We see new, young contractors that have limited labor and equipment resources and we see older, established contractors that have a good labor force and the proper equipment. The fact of the matter really boils down to whether or not the crew that sets the trusses is well-trained and whether or not they want to follow the required directions for proper setting and bracing techniques.”
Pogreba and engineering manager Rob Hansen have been past presenters on various aspects of the truss industry to members of the Wisconsin Frame Builders Association. Even in a room filled with reputable, responsible builders and business owners, Pogreba senses that attendees tend to show facial expressions or other body language that tells him they or their crews need to pay better attention and follow proper technique, or that they have had problems in the past where perhaps a building did go down or almost went down.
“The reception to our presentation is really strong, people ask questions and it tells us that they want this type of information and guidance and they are not embarrassed to ask for assistance or information,” Pogreba says. “But we can still look out into the audience and see by the facial expressions who’s struggling with using proper procedures or having their crews follow proper setting and bracing methods. We can see who is picking up 60-foot ag trusses by the peak with a chain and setting them that way.
“The people in attendance are normally company owners or managers and they know the right way to do things, but how do they take that back to their crew people? That’s the part that most companies struggle with.”

Those struggles can lead to dire circumstances. Select Trusses’ WFBA presentations have shown horrific photos of truss system collapses that occurred before the structure was completed. Then there are the truss failures that take place after a building is finished. “Eighty-five percent of failures are from improper erection,” says Ed Callahan, the first full-time managing director of the Truss Plate Institute who now investigates truss failures. “Installing subs do not know the importance of triangulation in the plane of the roof.” The following is a primer of proper truss handling, from jobsite delivery to final installation.

Delivery
When Select Trusses drops off a load of trusses at a jobsite, the driver will tilt the bed and roll the trusses off the trailer or truck bed. “We try hard not to flex and bend the truss bundles any more than we have to,” says Pogreba. Trusses should not be unloaded on rough terrain or uneven surfaces that could cause damage to the trusses. Trusses stored horizontally should be blocked up off the ground to prevent excessive lateral bending and lessen moisture gain from the ground. Long-term jobsite storage should not be a critical issue, as trusses are normally delivered as close to the date of installation as possible.
It is vital that at the time of delivery, attached paperwork be reviewed and inspected. Pogreba says his company includes truss handling paperwork in the form of BCSI sheets from WTCA, which detail every part of the handling process. “You shouldn’t just pick them up and start setting them without reviewing the paperwork,” he says.
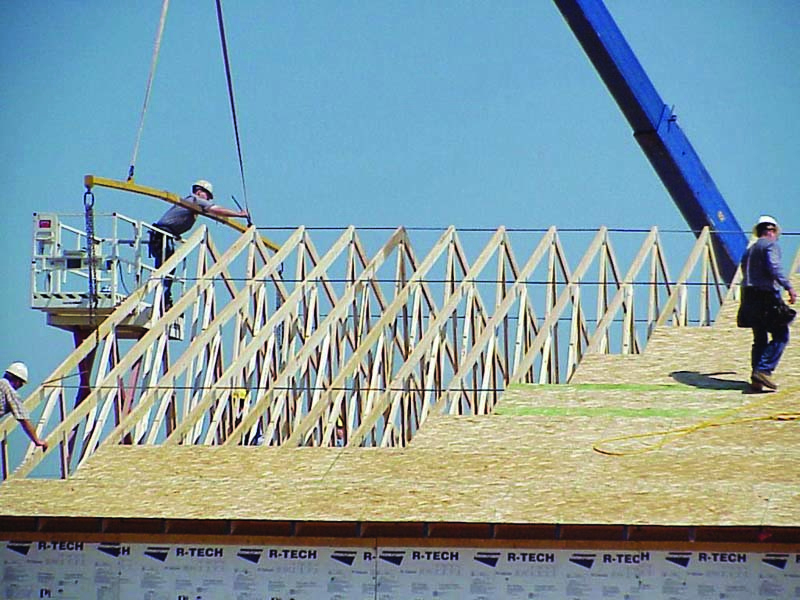
Lifting
Before lifting and setting trusses, make sure wind conditions are safe. “I don’t think anybody wants to be out there setting trusses in 30 to 40 mph winds,” Pogreba says. “You should be fine with light winds as long as you take certain precautions.” Under any truss application, a tag rope should always be used. This will help keep the truss stable and allows you to keep the truss parallel to the framework or other trusses already set. The tagline will also help to secure the truss from trying to twist in light wind conditions.
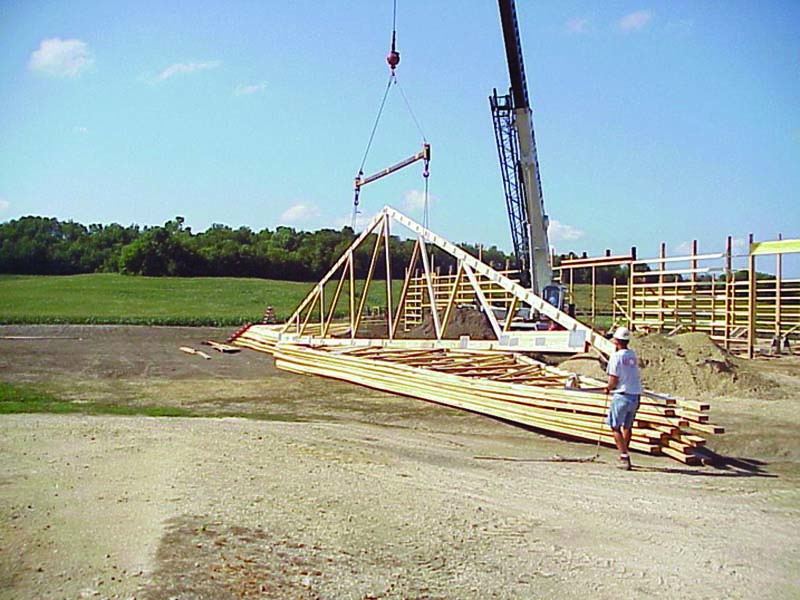
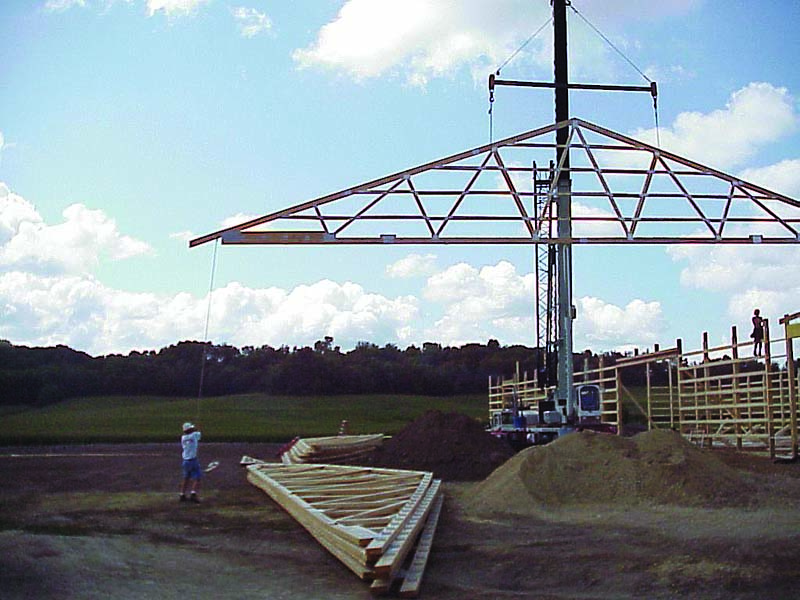
Trusses that are 30 feet or shorter may be lifted at the peak of the truss, but in general, it’s always better to use a spreader bar with nylon straps attached to the top chord. Anything wider than 30 feet should not be lifted at the peak of the truss. Pogreba says, “Every year we replace trusses because someone tries to lift a 60-foot truss at the peak, the crane starts swinging it around, and the two ends where the heels and overhangs are will come around and fold the truss together at the peak.”
The best option for longer trusses is a spreader bar. A spreader bar can be very simple in its design, a solid piece of iron that can support the weight of the truss. On trusses up to 60 feet long, WTCA recommends the spreader bar be one-half to two-thirds of the truss’s length. On trusses more than 60 feet long, WTCA recommends the spreader bar be two-thirds to three-fourths the truss’s length. Lifting devices should be connected to the truss top chord with a closed-loop attachment using nylon straps or chains.
Bracing
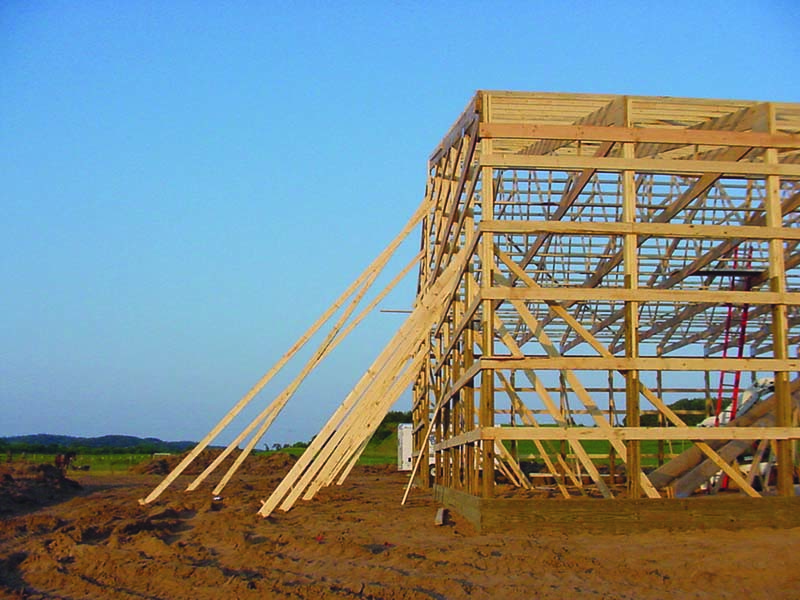
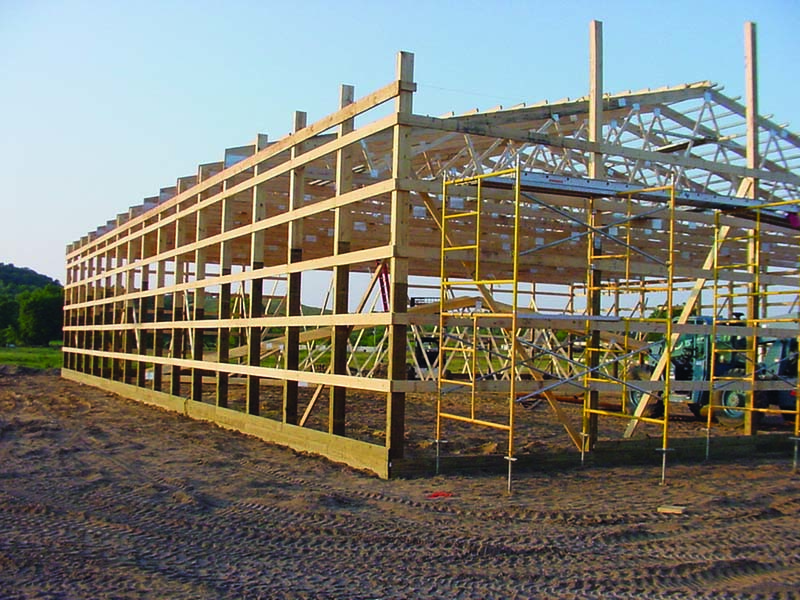
Before lifting and setting trusses, the lower framework of a post-frame building should be solidified. “You definitely want to have all the girts on, and you’ll also want some additional cross bracing on the inside of the post,” says Pogreba. “You don’t want to just brace the gable truss, brace the framework as well. The framework tends to be loose and unstable until you start fastening the trusses.”
Gable end support is critical, Pogreba says, especially in post-frame buildings. “If you skimp on gable end bracing or don’t do it at all, the trusses can get real snaky and get out of shape fast — an accident waiting to happen,” he says. The BCSI sheet that Select Trusses sends out to every jobsite will specify bracing information. In terms of lumber size, 2×6 material is normally used and anything smaller for gable end bracing would be too weak for this application. “Once you get into bottom chord, web, and cross bracing you can run 2x4s, but for framework and for stabilizing the gable end, run 2x6s,” he says.
Bracing of the first two or three trusses set should begin as soon as possible, depending on the purlin system. If purlins are installed between trusses using hangers, bracing should begin with the setting of the second truss. Pogreba says if purlins are running on top of the truss’s top chord, it’s a different application and you might have three or four trusses up before fully stabilizing the system. “You can’t just put up six, eight, ten trusses and start to support them after that,” he says.
Always follow the recommendations using WTCA’s BCSI-B10 summary sheet that provides guidelines for top and bottom chord temporary truss bracing, as well as diagonal and vertical bracing. Top chord temporary lateral bracing should be placed from 6 to 10 feet on center, and bottom chord lateral bracing should occur at a maximum of 15 feet on center. Bracing considerations are critical for truss setting safety.
“Improper bracing is usually what brings it down,” says Callahan. “They’ll start out, and instead of adequately bracing the gable end walls, they’ll set four or five trusses and just put purlins on top. They’ll reach a point where there is nothing to restrain the lateral movement, and the stability of the top chord plane is inadequate.”
When the building shell is completed, Pogreba says exterior gable end bracing can come down first, but temporary interior bracing should be left in place as long as possible.

Safety
One way to brace and stabilize trusses is to build an assembly of three or four on the ground, then lift it into place with a crane. While this is seen primarily with smaller truss systems, and some post-frame builders have figured out how to make this method work (see sidebar), Pogreba says it is not a commonly used tactic in post-frame construction.
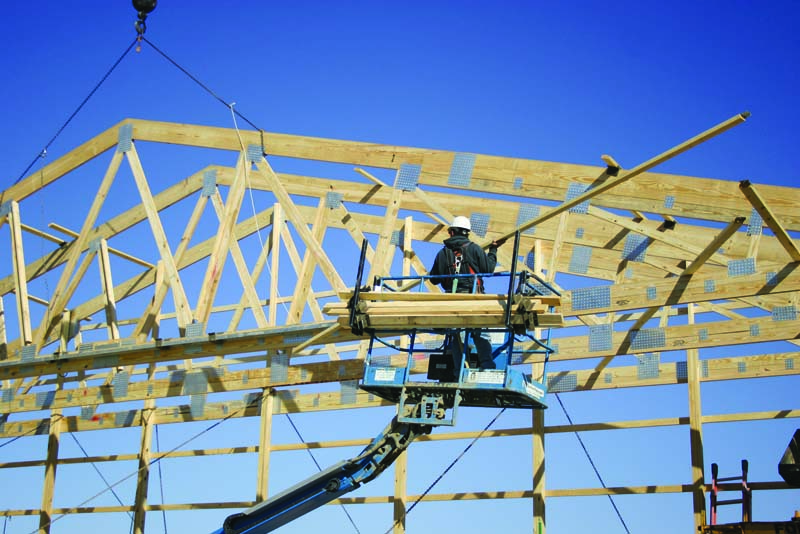
Truss setting safety is a major concern in the post-frame industry, where workers still scurry up top chords and use a leg lock while nailing in purlins. By following guidelines provided by truss manufacturers and standard-setting organization like WTCA and TPI, truss setting can be accomplished with as little risk to the erection crew, construction company ownership, and to the eventual building occupants, as possible.

ON THE WEB
- Select Trusses and Lumber • www.selecttrusses.com
- WTCA (Now the SBCA) • https://www.sbcacomponents.com/
- Truss Plate Institute • www.tpinst.org