Compiled by Rocky Landsverk, Editor
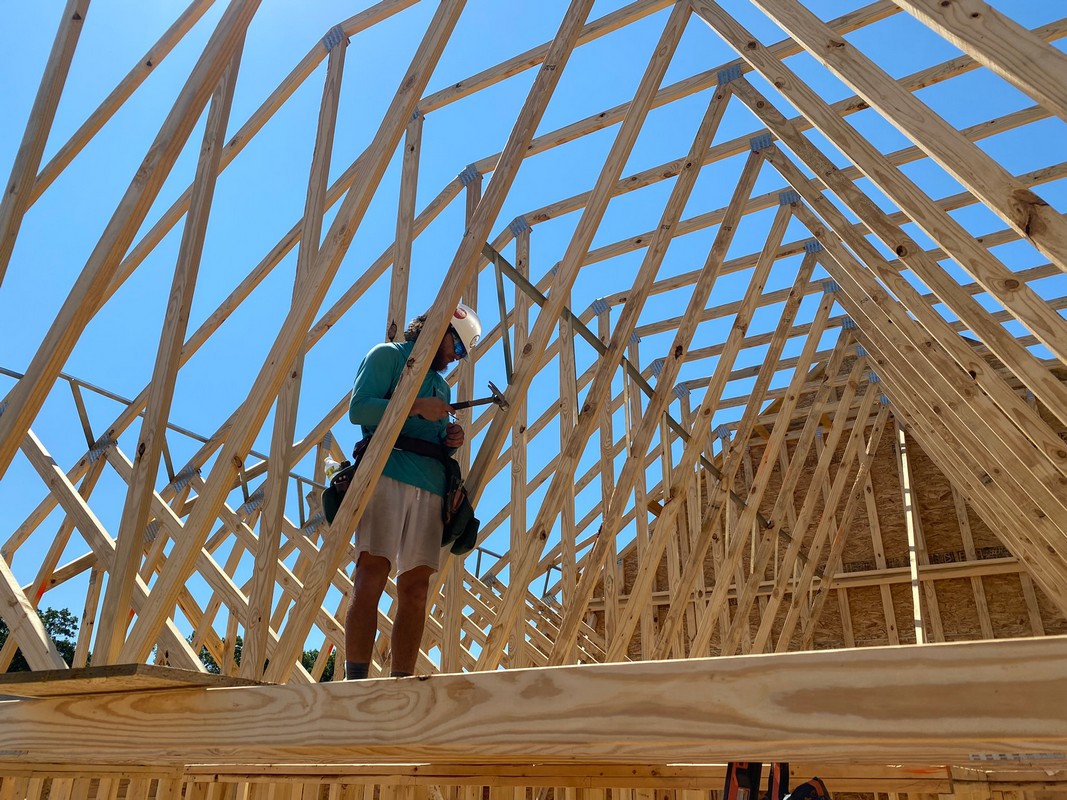
If you’ve been a builder for a long time but are new to post-frame construction, you may have some questions or concerns when it comes to installing windows in a post-frame building. Thankfully, the learning curve doesn’t seem steep.
That doesn’t mean that post-frame veterans don’t have advice for you. It only means that with a few adjustments, you’ll be able to make your window installations work great, including making them waterproof. “In my opinion installing a window (in a post-frame building) is no different,” said Kyle Stumpenhorst of RR Buildings. “The key differences are in the framing requirements as well as the proper flashing considerations.”

Other experts told us the same thing — there are more similarities than differences. An example of a similarity — window openings should be a little larger than the window itself in all installations, by one-half to 1 inch all around to allow for insulation. That means if the window is 47”x47”, the rough opening might wind up being 48” square.
Advantages of Post-Frame
You already know that post-frame construction has many advantages over conventional stick-built homes, or you wouldn’t be holding this magazine. Among them, Stumpenhorst said, “all load bearing is done at the columns and because of this you don’t need to worry about the additional framing of headers.”
Obviously, that means less labor and materials, but also the reduction of thermal bridging, which improves energy performance. “You are able to insulate right next to the window frame box,” Stumpenhorst said. If you need to, conduct an Internet search for a definition of the term “thermal bridging.”
Window Choices
There are a few options for post-frame window installers, including buying windows that have preinstalled J-channels. Stumpenhorst personally prefers to get windows without a built-in J-channel, opting for a vinyl-clad exterior window with a nailing fin.
“While it may seem appealing, and definitely easier since you will not be installing J-channel yourself, the ability to properly seal it becomes almost impossible,” Stumpenhorst said. “There are also some great post-frame specific windows on the market. They allow you to install your metal directly over the window opening and then come back and cut the hole out. The top channel that we would create with a piece of J-channel is already built into the window as well, so ease of install is definitely there.”
Stumpenhorst said RR Buildings doesn’t use those particular windows because he likes to use a “belt and suspenders approach of multiple layers of air and water sealing that exist with a standard nailing fin window.”
There are also a lot of great reasons to simply buy windows made for the J-channel situation involved with post-frame construction. The AJ Manufacturing Harmony windows, for instance, come with trim systems that are made for the situation. The EZ-v™ trim systems cover the “rough edges” of steel around the edges of windows and doors.
Typical Window Installation Methods
There are three basic ways in which to install a window: Insert, nail fin, and post-frame trim.
“Insert” window installations typically refer to replacement windows with no exterior installation trim. The carpenter removes the old sash and slides the new window into the existing window frame. The craftsman and their homeowners will want to ensure the existing window is solid and not rotted or damaged.
Nail fin installations involve a nailing fin or “mounting flange” — a thin strip on the exterior of the window that is set back and available for nails or screws. Those can also come with a J-channel attached. In this case, the windows are installed before the siding goes onto the building. The structure might be sheeted in OSB and weatherization wrap, with window tape over the nail fins, but most post-frame structures are not sheeted and don’t have weatherization wrap, so the windows are installed directly onto the framing members.
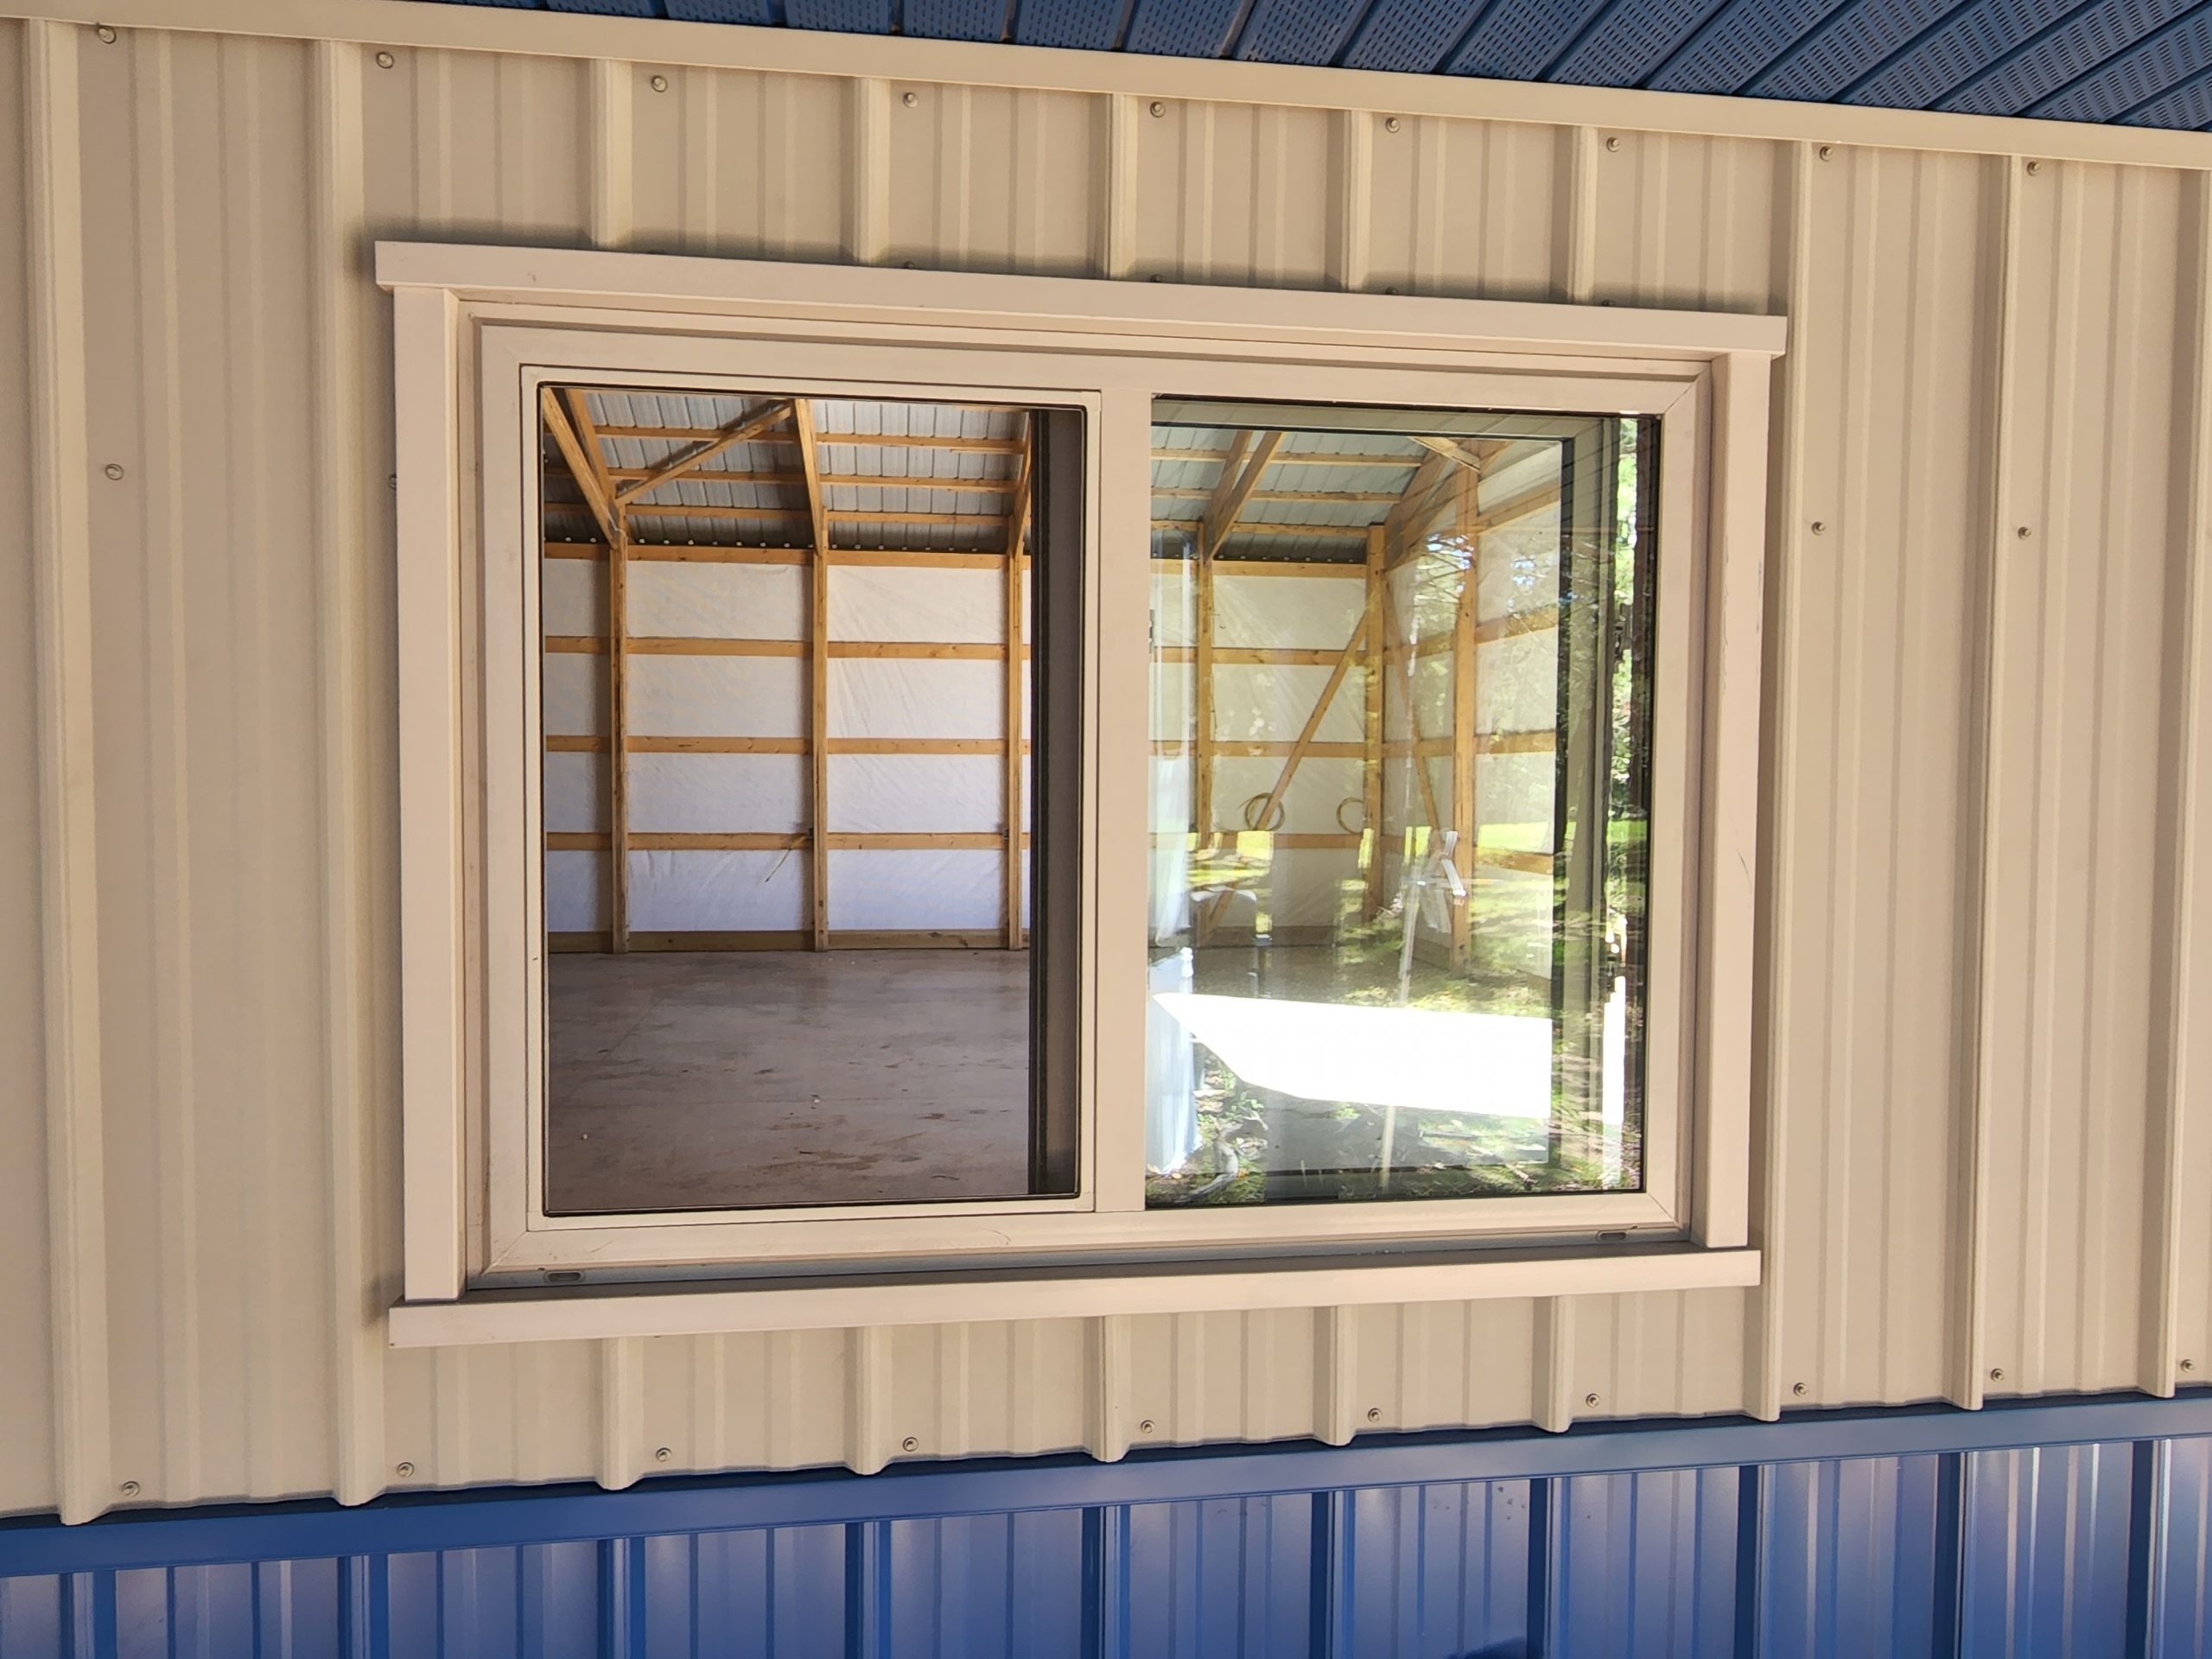
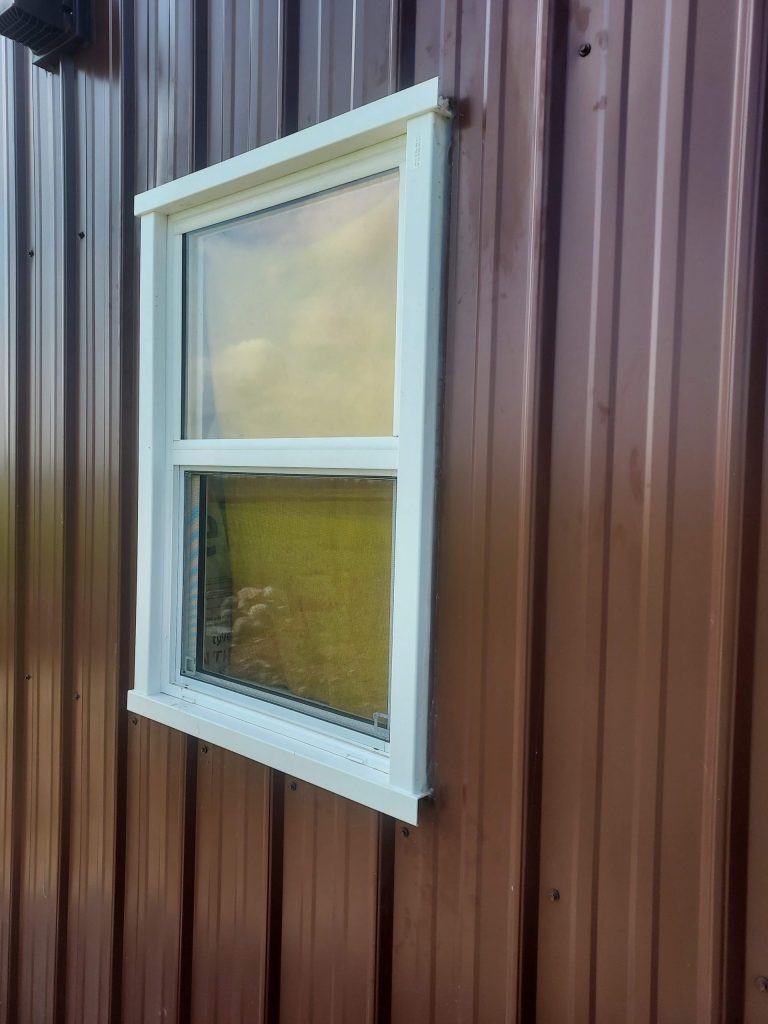
“Residential windows will, many times, come with a 3/4″ J-channel as part of the window,” said Scott Thommesen, sales rep for AJ Manufacturing. “This 3/4″ J-channel is fine for horizontal vinyl siding but is too small for post-frame vertical steel ribs.” So, some window manufacturers, including AJ, have designed a larger J-channel that is designed specifically to accommodate up to a 1 1/4″ rib. Water infiltration does need to be addressed in this situation, typically with a trimming and flashing method on the outside of the windows and behind the seal.
Post-frame windows have installation and flashing systems specifically designed for post-frame vertical steel. In the case of AJ, this is where their EZ-v™ trim system comes in. The siding is installed before the windows. “It works using J-channels top and bottom, and a brickmold-style trim on the sides,” Thommesen said. “It uses the J-channel on the top of the window as a drip cap, capturing the water running down the siding and displacing it off the side of the window. The brickmolds on the sides seal the window to the steel siding and the J-channel on the bottom blocks any pressurized rain. All these parts also cover any sealant that is used and trims the window with a finished appearance.”
Flashing and Post-Frame Windows
To the topic of flashing, Stumpenhorst said that “many times a steel-clad exterior is used in absence of any structural sheathing. This also saves labor and material use, not having to sheath the walls, and instead we rely on shear strength from the properly installed steel exterior and permanent bracing in the walls.”
But because of this, you need to take extra care in the window flashing installation, so water doesn’t get behind the steel and rot the framing and/or ruin the insulation. That can be different for contractors who learned to trim windows with vinyl siding in more conventional or typical building methods. When Stumpenhorst sees examples of these contractors working on their first post-frame home, the top J-channel is sometimes installed in a manner that could allow water behind the siding.
“While we always back-seal our bottom and side J-channels with a high-quality sealant, the most important detail is the top J-channel, because that J-channel can act like a gutter,” he said. “You need to funnel all the water out and over the metal, not to the edges of the window and down the side where your cut panel meets the trim.”
He also suggested that you remember the layout of the metal. “Because there are high ribs in the metal,” he said, “the last thing you want is for a rib to land right along the side of a window. This will funnel water directly behind the steel because it is almost impossible to properly seal.” FN
Top Tips and Tricks
By Scott Thommesen, AJ Manufacturing
1. Allow for expansion and contraction.
Vinyl windows expand and contract quite a bit after installation and for the life of the window. So, when installing a vinyl window, it must either sit solid on the sill or on shims. The window will conform to whatever is under it.
2. If using shims, shim every weight point.
On double hungs, the weight points are on the two sides (all the weight of a double hung is on the bottom corners). Sliders have three weight points: Each bottom corner and two-thirds of the weight is in the center. If you don’t shim at least all three weight points, the window will fail in weeks. I have seen far too many installations where installers have shimmed the bottom of a window, nailed it in, and then pulled the shims back out, leaving a window ‘hanging’ on the nail fin. The spray foam they put under it does not stop the window from moving. Six months later, somebody is back at the home because the frame is badly sagged and the sash no longer makes good contact with the frame. These windows then need to be reinstalled or, in some cases, replaced on the contractor’s dime and time. I can’t emphasize enough about how important it is for proper shimming across a window or just set it directly on a flat sill.
3. Square the window with the sash.
When installing a window, put away your squares and levels. You need to already have a level sill that you are installing this window on. Use the sash to square up your window. Here’s how: Set the window on the sill and slide open the sash 1/8”. Be sure that reveal is perfect before nailing your window into place. Remember, after the window is installed, if it leaks and that sash isn’t seating the frame evenly, it’s likely an installation problem. Check the reveals all around the entire operating sash to be sure they are all equal on all side of the operating sash. If your window is slightly out of level, if the reveals around the operating sash are perfect, that window will still perform the way it was designed.